

If you are facing the problem of wavy walls with a variation of 0.3-4 millimeters (in cases where more thickness is required, additional coats should be applied) and are wondering, “Can a thick skim coat be used to level in one go?” This article has the answer along with advice on how to properly choose the type of skim coat to ensure smooth walls ready for professional painting.
Understanding first: What is a skim coat and what type of work is it suitable for?
A skim coat (Skim Coat) or thin plastering material is a product used to detail the surface of walls for a smooth finish, typically applied after regular plastering and before painting or decorating the walls. However, using a skim coat thicker than what the material is designed for, especially at a thickness of 1-3 cm, may lead to issues of thin application and durability.
Can a skim coat be applied at a thickness of 0.3-4 mm in one go?
It is highly discouraged because standard skim coat materials are not designed to be applied thickly in one go.
Applying thicker than recommended may cause:
- Cracking later on
- Poor adhesion
- Peeling over time
Types of skim coat
|
|
|
|
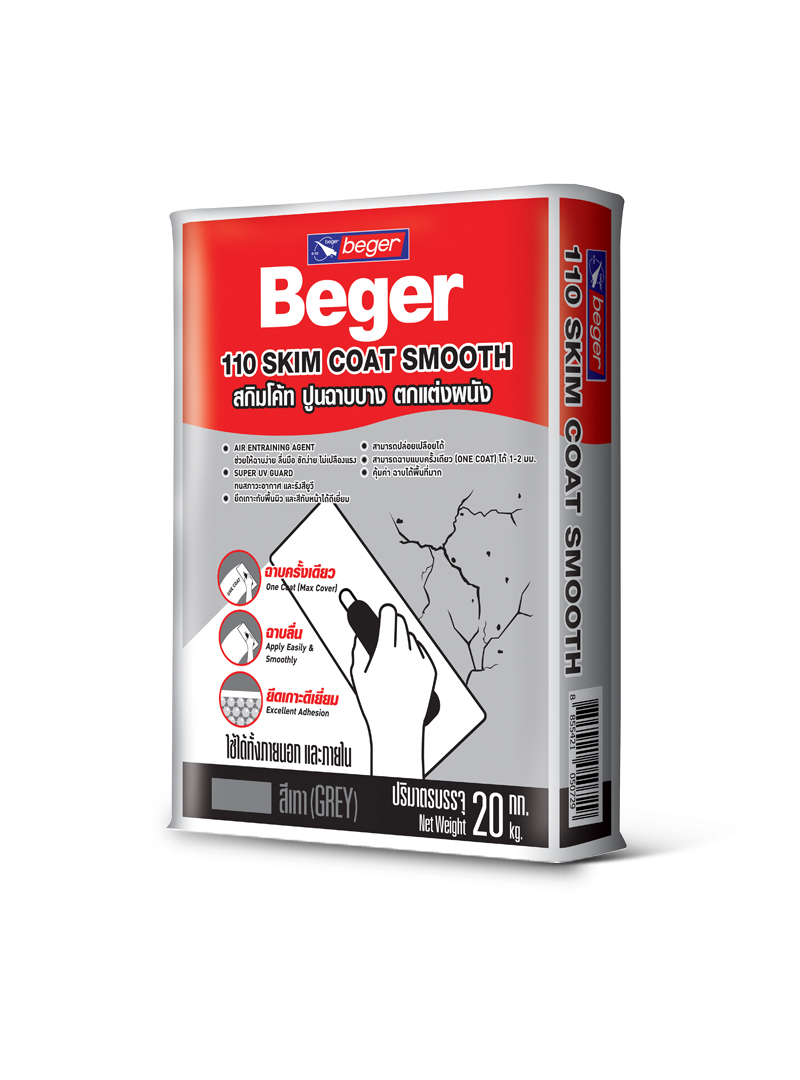
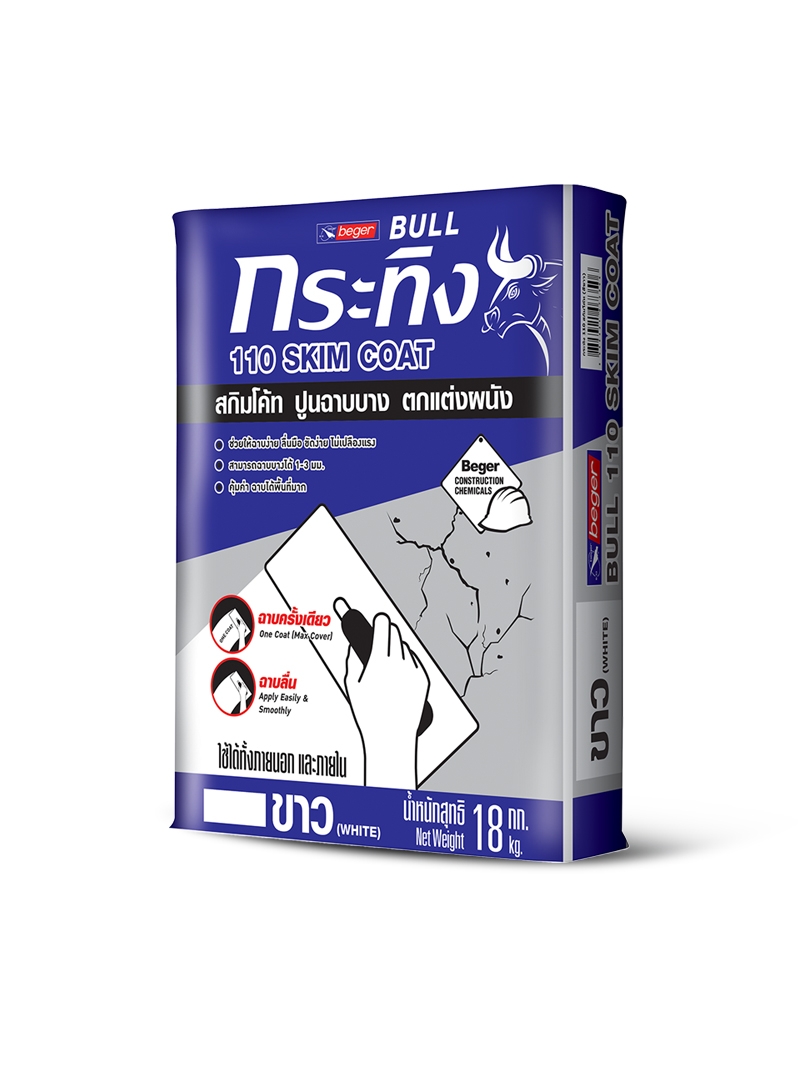
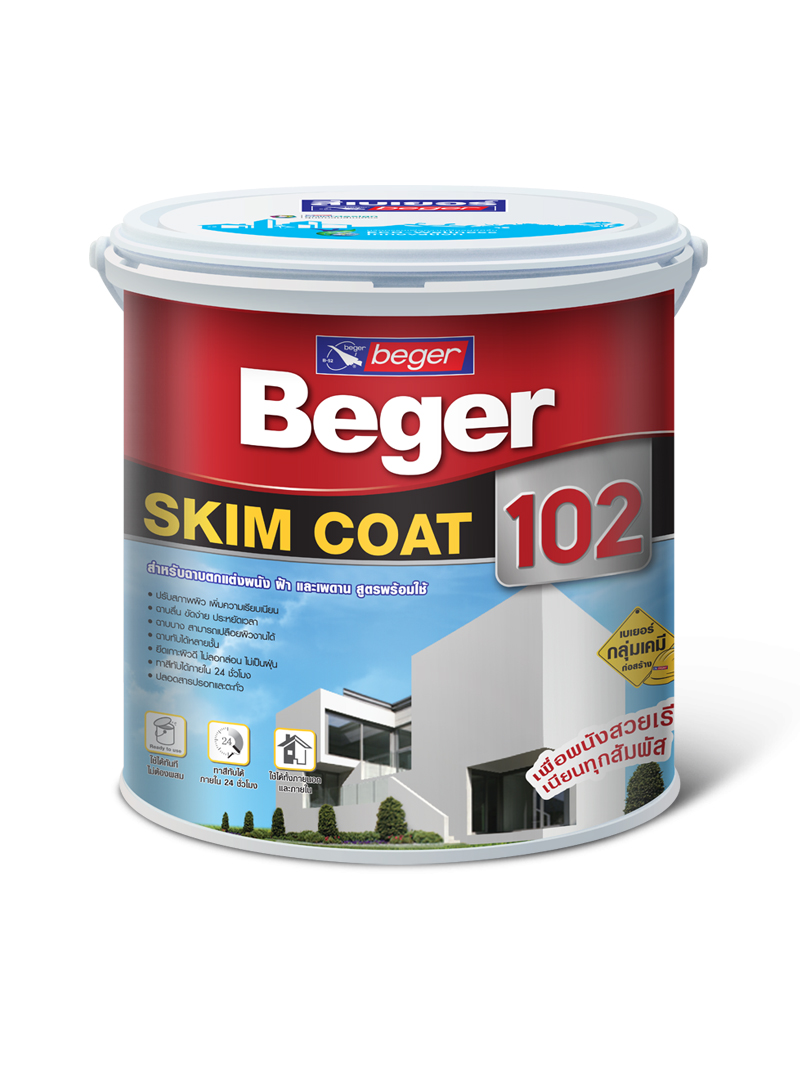
1. Cement-Based Skim Coat
- Packaged in bags, must be mixed with water before use
- Recommended thickness: 0.3 – 2 mm per application
- Advantages: Inexpensive, easy to sand
- Disadvantages: Leaves a lot of dust after sanding
- Allow to dry for at least 1-2 days before sanding
- Wait 4-6 hours before sanding
- Wait for at least 3-7 days (depending on weather conditions) before painting.
Product examples:
- Beger 110 SKIM COAT Smooth
- BULL 110 SKIM COAT
Note: Do not apply thicker than 2 mm at a time or use to adjust walls with a thickness of 1-3 cm.
2. Ready-to-use acrylic skim coat (Acrylic Skim Coat)
- Packaged in a bucket, open the lid and it is ready to use.
- Can be applied thicker: up to 4 mm at a time.
- Advantages: Good adhesion, strong surface, minimal dust residue after sanding.
- Wait for 2-3 hours before the next application.
- Leave to dry for 1-2 days before sanding or painting.
Product examples:
- Beger SKIM COAT 102 White
Note: If it is necessary to apply thicker than 4 mm, it is recommended to use ready-to-use acrylic skim coat and divide the application into several times to achieve better standard work.
Solution: The wall is wavy 1-3 cm. What should be done?
|
|
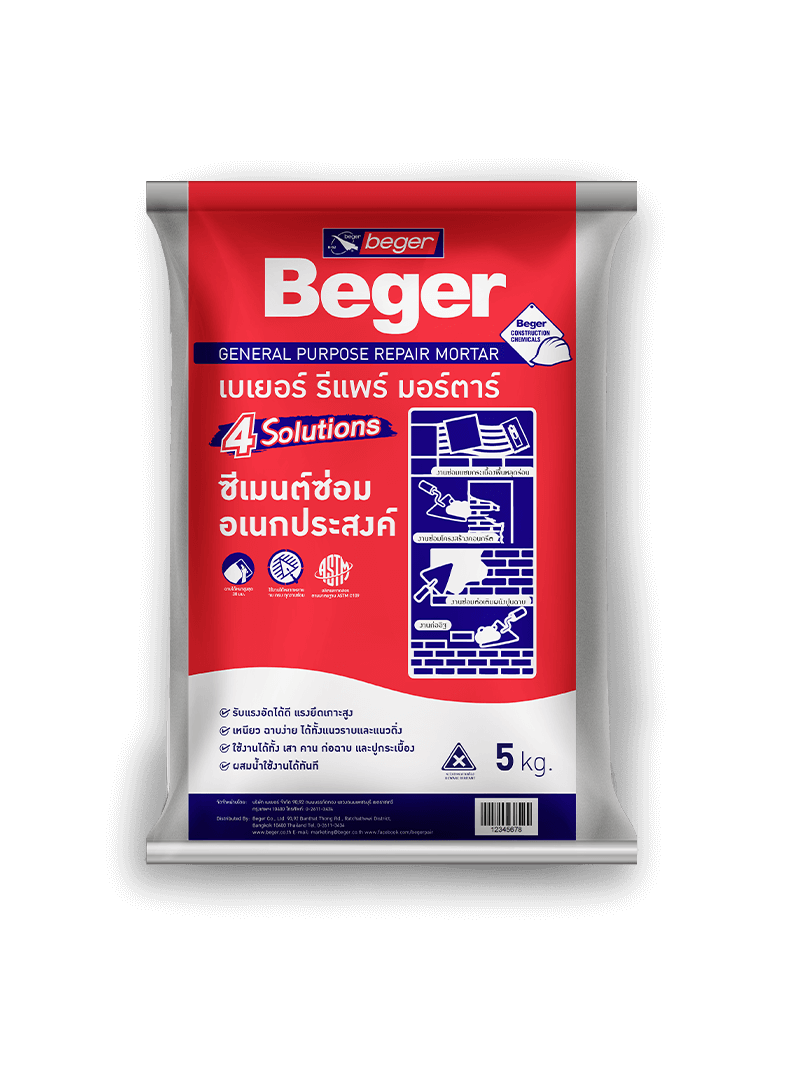
The most appropriate steps
- Prepare the surface first with Beger Repair Mortar, a multipurpose repair cement, to level the wall as closely as possible.
- Once leveled, then use skim coat to achieve the final smoothness.
Guide to properly applying skim coat for a smooth wall surface.
| Steps | Details of cement mix type |
|---|---|
| 1. First application. | Thickness not exceeding 3 mm. |
| 2. Wait for it to dry | Leave for 1–2 hours before applying the next layer |
| 3. Surface finishing | After applying, leave for 4–6 hours before sanding as desired |
| 4. Allow the wall to dry completely | Leave to dry for 3–7 days (depending on weather conditions) |
| Steps | Details of ready-to-use acrylic type |
|---|---|
| 1. First coat application | Can be applied up to a maximum thickness of 4 mm. |
| 2. Wait for it to dry | Leave for 2–3 hours before applying the next layer |
| 3. Surface finishing |
Leave to dry for 1–2 days (depending on weather conditions) |
| 4. Allow the wall to dry completely | Leave to dry for 1–2 days (depending on weather conditions) |
Summary: To achieve a smooth wall, you must know how to choose the right materials
To solve the problem of deep wave walls of 1-3 cm, it is not possible to use a thick skim coat in one go. It should be applied in multiple passes or use other materials to help level it, by choosing suitable products such as ready-to-use acrylic skim coat for work that requires more thickness than usual