
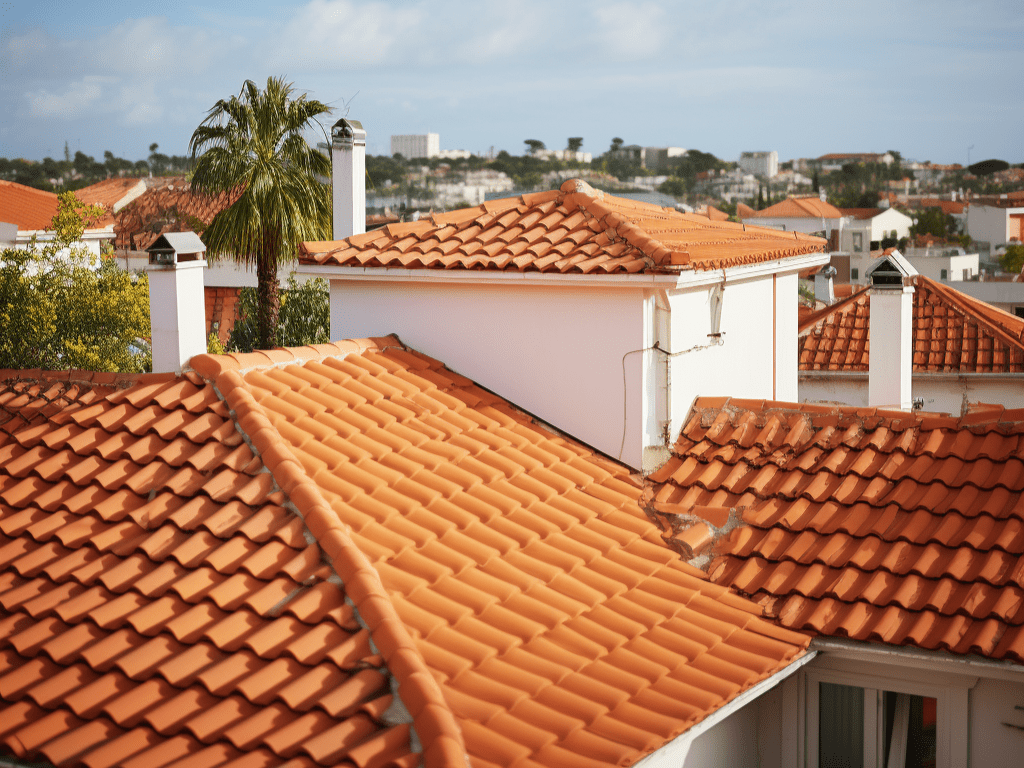
The roof and terrace are the parts that face the weather directly the most, whether it be intense sunlight, heavy rain, or continuous humidity throughout the year. These factors all accelerate the deterioration of materials faster than expected and lead to the problem of “leaky roofs.” Often, this problem does not occur suddenly but accumulates from small cracks or joints that are not visible to the naked eye until one day it starts to appear as water stains on the ceiling, peeling paint, or musty odors inside the house, which is a sign that the damage has spread more than anticipated.
What complicates the issue of leaky roofs is that repairs often focus only on the “symptoms,” such as fixing the ceiling or sealing specific spots where water drips, without going back to analyze the “root cause.” This results in the original problem recurring in a short period. Therefore, effectively managing this issue must start from understanding the structure of the problem, from the main causes, the risk points that are often overlooked, to choosing the appropriate repair and prevention methods suitable for the characteristics of the area. This article will explore the overall picture of the leaky roof problem systematically, including analyzing the causes, correct repair methods, and long-term prevention strategies to help make accurate decisions and reduce the chances of recurring problems in the future.
What causes leaky roofs?
The problem of leaky roofs does not have a single cause but arises from multiple contributing factors, which can be divided into 5 main groups commonly found:
1. Structural deterioration due to age
Roofing materials, such as tiles, concrete, or metal sheets, will naturally deteriorate over time.
- Cracked tiles
- Open joints
- Deteriorated surface coatings
Resulting in water being able to seep through to the structural layers.
2. Cracks and joints
Risk points that often lead to leaks include:
- Joints between walls and the roof terrace
- Gutter edges
- Installation points for pipes / air conditioners / solar panels
- Hairline cracks
These points are the “Weak Points” where water can easily infiltrate.
3. Poor drainage
Standing water for long periods is a major enemy of roofs.
- Insufficient slope
- Clogged drainage pipes
- Accumulation of leaves / dust
Water accumulation will accelerate deterioration, increasing water pressure to seep into the structure.
4. Non-standard installation
- Using inappropriate materials
- No waterproofing layer
- Improper installation
Even new homes can leak from the first year.
5. No waterproofing system from the start
Many homes “did not apply waterproofing” or used low-quality materials, leading to repeated repairs in the long term and higher costs.
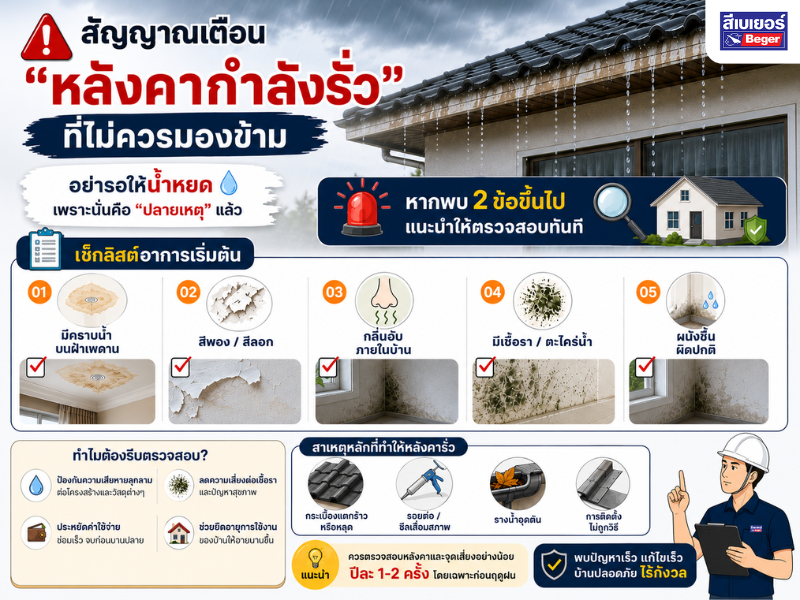
Warning signs “the roof is leaking” that should not be overlooked
Don’t wait for water to drip, because that is already the “end result.”
Check the initial symptoms:
- There are water stains on the ceiling
- Paint is bubbling / peeling
- Musty smell inside the house
- There is mold / algae
- Walls are abnormally damp
If you find 2 or more symptoms, it is recommended to check immediately.
Systematic roof leak repair method (practical and effective)
When encountering a roof leak problem, effective repairs should be done as a “system” from surface preparation to long-term protection, following these steps:
Step 1: Clean the surface
Start by thoroughly cleaning the roof to remove dust, mold, dirt stains, and residues that may affect the adhesion of materials. In the case of finding “small leaks” or joints between materials, you can use Beger Seal Max Tape High-quality bitumen tape for waterproofing, versatile and can immediately seal leaks to stop water seepage before proceeding to the next step.
Note: Suitable for urgent repair work and helps reduce the spread of the problem.
Step 2: Remove mold and slime.
After cleaning the surface, an important step not to be overlooked is mold removal, which is one of the causes of moisture accumulation. It is recommended to use Beger Mouldfree M-001 by applying it generously over the affected area and leaving it to dry without rinsing off.
Note: Helps eliminate mold down to the roots and prevents recurrence.
Step 3: Seal cracks.
Recheck the surface; if cracks are found, especially those that are still moving, use Beger PU Seal in a tube to fill the gaps and increase surface flexibility.
Note: Reduces the chances of future cracking.
Step 4: Apply primer.
Before applying the waterproofing, it is necessary to apply a primer to enhance adhesion and reduce surface absorption. Use Beger Pro Quick Primer B-1900 and apply it evenly in one coat, then allow it to dry completely.
Note: This step helps the waterproofing system work at full efficiency.
Step 5: Apply waterproofing.
Proceed to the crucial step for long-term protection, starting with applying Beger RoofSeal Cool in the first coat over the entire area. Then lay down Beger Fiber Mesh in high-risk areas such as joints or corners to reinforce strength. After approximately 2–3 hours of drying, apply a second coat of RoofSeal Cool to increase thickness and waterproofing efficiency.
Note: This system helps with “leak prevention, waterproofing, and heat reduction” in one step.
Long-lasting roof repairs do not depend solely on the “materials” used, but also on the “sequence of steps” and “proper surface preparation.” If all steps are carried out systematically, it will help reduce the chances of recurring leaks and effectively extend the lifespan of the roof.
FAQ Frequently Asked Questions about Roof Leaks
Q1: What are the most common causes of roof leaks?
A: The most common causes are surface cracks, deteriorated material joints, and expired waterproofing systems, as well as issues with water pooling on the roof that increases pressure for water to seep into the structure.
Q2: Is spot repair sufficient for roof leaks, or should the entire system be redone?
A: If it is a small leak and not widespread, spot repair can be sufficient. However, if multiple spots are found or the surface is deteriorated, it is recommended to redo the waterproofing system for the entire area to prevent recurring leaks in the long term.
Q3: Should a primer be applied before waterproofing?
A: A primer should always be applied beforehand, as it helps improve adhesion, reduces surface absorption, and allows the waterproofing system to work more effectively.
Q4: What type of waterproofing is suitable for roofs exposed to sun and rain all the time?
A: It is advisable to choose waterproofing that has high flexibility, is resistant to water pooling, and can reflect heat, to help reduce cracking from temperature changes and extend the lifespan of the surface.
Q5: After waterproofing repairs, how should I maintain it to prevent leaks?
A5: The surface should be inspected at least once a year, especially before the rainy season. Clean to prevent debris blockage, check for cracks, and repair immediately when minor issues are found.