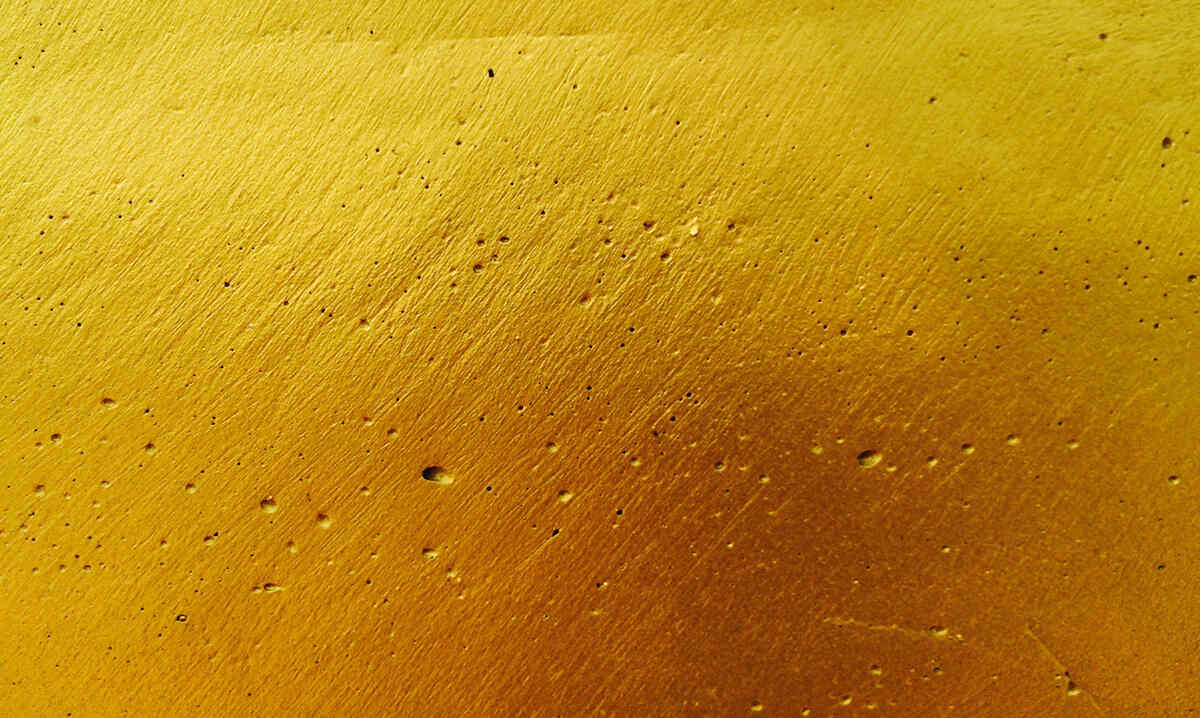
The issue of color film bubbles or Bubbles & Foaming is one of the common problems in painting work, especially in the hot and humid climate of Thailand. Not only does it make walls look unattractive, but it also indicates that something is wrong, whether it be with the surface, the paint used, or the technique of the workers. If left unaddressed, it will affect the durability of the paint job in the long term. This article will summarize the main causes, prevention methods, and solutions, along with technical information that helps users accurately analyze the problem.
Main causes of bubbles on paint film
The causes of bubbles can be divided into two main groups: causes from the equipment/materials used and causes from the working process.
1) Causes from choosing the wrong type of painting equipment
Information from the image clearly states that “the choice of equipment is a significant factor that causes paint to bubble.”
1.1 Rollers that are unsuitable for the paint texture If a roller that is not suitable for the type of paint texture is used, it can easily cause bubbles. For example:
- A long-haired roller is suitable for paints with high viscosity.
- A short-haired roller is suitable for smooth, fine-textured paints.
- Using the wrong type, such as using a long-haired roller with smooth paint, can lead to a large number of bubbles.
1.2 Roughness of the roller surface A roller with too short hair or unsuitable fibers may cause bubbles by trapping air in the paint more than normal.
1.3 Using low-quality rollers Cheap rollers or those made from non-standard materials have uneven fiber structures. When rolled on the wall, they draw air into the paint, resulting in bubbles that do not collapse.
2) Causes from improper paint mixing
Information from the image indicates that “mixing paint too vigorously or dissolving paint more than necessary” is another significant factor.
2.1 Mixing paint too vigorously, causing bubbles in the bucket When mixing paint at high speed, a large number of air bubbles are forced into the paint and will remain when applied to the wall.
2.2 Mixing paint for too long or adding too much water According to most standards, the amount of water mixed with acrylic paint should not exceed the specified product. If too much water is added, it reduces viscosity, making it easier to trap air and resulting in more bubbles than normal.
3) Moisture accumulation in the surface
This is one of the top causes of bubbles under the paint film, especially on
- exterior walls exposed to sun and rain
- walls attached to bathrooms.
- Cracked walls, water seepage
Moisture will push the paint film out, causing blisters, and risks peeling afterwards.
4) Painting on dirty or greasy surfaces
Dust, cement powder, or grease can prevent the paint from adhering well, resulting in blisters and lifting of the paint film.
5) Painting in unsuitable environmental conditions
- Excessively hot weather
- Walls heated by the sun
- Wet surfaces from rain
Can cause the paint to dry too quickly, trapping air in the inner film.
Solutions for paint film blistering
2 simple steps that really work
1) Sand the surface to smooth it out
- Use sandpaper grit 180–240
- Gently sand to make the paint film even
- Remove blisters and hard edges that have lifted
Benefits:
Sanding will help the new paint film adhere better and reduce the chances of recurring blisters.
2) Roll on a thin layer of paint to create a new paint film
After sanding the surface, apply a thin and even coat of paint.
- Use a roller suitable for the paint texture
- Avoid overloading the roller with paint
- Roll slowly to reduce air entrapment
- Apply 1–2 coats as necessary
Benefits:
Applying a thin coat allows the paint film to set well, reduces air entrapment, and makes the walls smooth and natural.
Methods to prevent air bubbles in the future
- Choose equipment suitable for the type of paint
- Use high-quality tools (rollers)
- Mix paint according to the manufacturer’s specified ratio
- Paint during suitable weather conditions (not too hot and windy)
- Clean the surface before each application
- Check the wall moisture and any cracks that may allow water to seep in
-
Air bubble pit problems on epoxy floors (Epoxy)
Air bubble pit problems on epoxy floors (Epoxy)
Air bubble pit problems on thick film epoxy floors (Self Leveling) are a common issue that often occurs when the epoxy paint begins to set or harden. This can be observed from small bubbles that swell on the film’s surface during application. When the epoxy hardens, these bubbles will burst, creating “color pits,” making the floor appear pitted, uneven, and inconsistent. This issue is often caused by air being pushed out from the concrete surface, moisture, or inadequate air release during application.
Causes
- Using the wrong type of roller; it is necessary to use specific rollers and footwear for the task.
- The quality of the concrete and the porous characteristics of the concrete
- The characteristics of high-temperature air with high humidity, including the thinner used in mixing paint that may have a faster evaporation rate than normal
- The quality of the paint product
Solutions
1. Sand and clean the surface thoroughly
Start by sanding the surface area where air bubbles have formed with sandpaper or an electric floor sander to remove the damaged surface and make it even. Then vacuum and clean to remove dust, oil stains, and moisture, as even a small amount of foreign matter can cause bubbles to reappear when recoating.
2. Use the correct equipment, such as specialized rollers and brushes
Self-Leveling epoxy floors require the use of
- a spike roller (Spike Roller) to release air from the epoxy material
- spiked shoes (Spiked Shoes) to allow workers to walk on the epoxy layer without disturbing the film surface
Using inappropriate equipment, such as a standard roller, will result in incomplete air release and increase the risk of bubbles and pits reappearing in the next coating.
3. Control the working environment
Temperature and humidity are directly related to the formation of air bubbles
- Work should be done at a temperature of 25–30°C
- Relative humidity (RH) should not exceed 75%
- Avoid working during the day on hot concrete surfaces or after rain
Controlling the environment will help reduce air expansion in the concrete and decrease bubble formation during the epoxy setting process
4. Improve product quality or add defoamer as necessary
If it is found that the problem arises from the paint texture or product formula, such as abnormal bubble formation, a suitable defoamer (Defoamer / Anti-Foam Agent) should be added, and the Hardener ratio should be checked for accuracy, as incorrect ratios can lead to abnormal setting and increased bubble formation
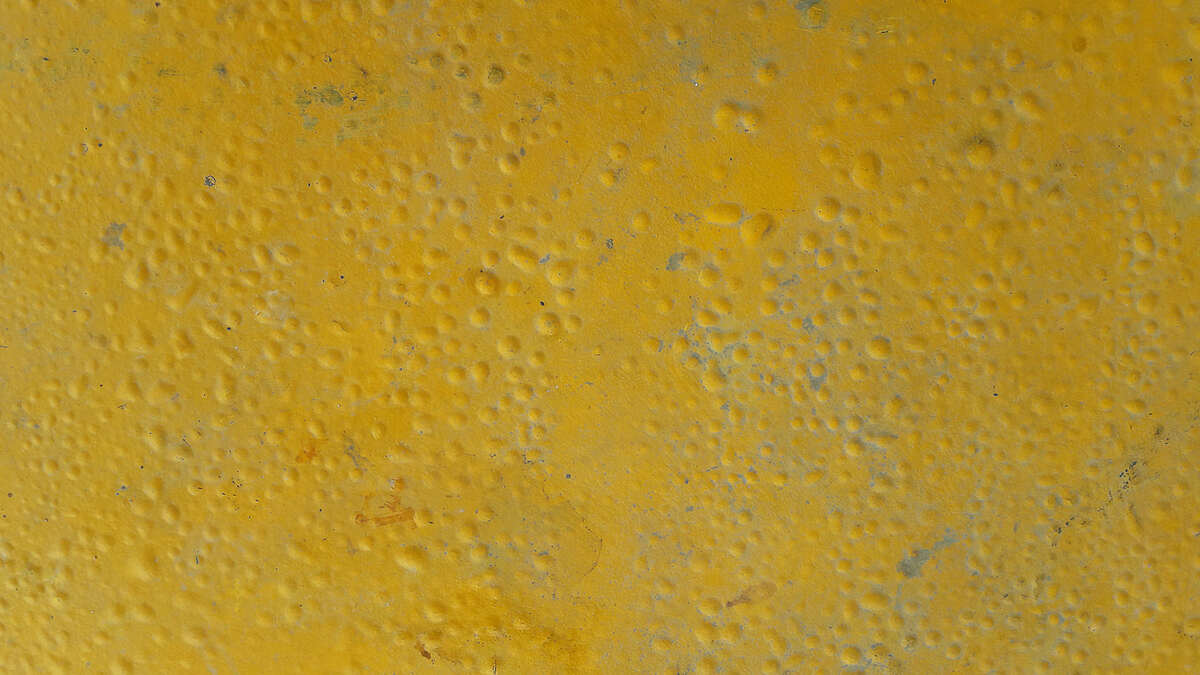
Problems with paint film forming air bubbles and air voids on epoxy floors are often caused by trapped air within the paint layer, moisture, porous concrete surfaces, and the use of inappropriate equipment, such as rollers not suited for specific tasks. An effective solution is to smooth the surface and apply a thin coat again with the correct equipment, while also checking the primer, concrete surface, and environmental conditions to prevent recurring air bubble formation, resulting in smooth, beautiful, and long-lasting paint and epoxy work
1) What causes air bubbles on walls?
They are caused by moisture in the walls, using the wrong type of painting equipment, mixing paint too vigorously, or painting in excessively hot air causing the outer film to dry faster than the inner layer
2) How can air bubbles on walls be effectively resolved?
Sanding the surface smooth and then rolling a thin coat of paint with a roller suitable for the type of paint is the most recommended solution
3) Why does Self-Leveling epoxy floor have holes after drying?
Because small air bubbles that form during the setting process burst, resulting in holes, often caused by moisture, air in the concrete, or incomplete air release during work
4) How to fix air bubble holes on epoxy floors?
Sand the damaged surface smooth, clean thoroughly, fill the porous holes with epoxy system primer, and recoat using a Spike Roller to release air
5) What equipment is necessary for Self-Leveling epoxy work?
Spike Roller
Spiked Shoes
Notched Trowel
Using specialized equipment will help reduce air bubbles and make the film more uniformly smooth