
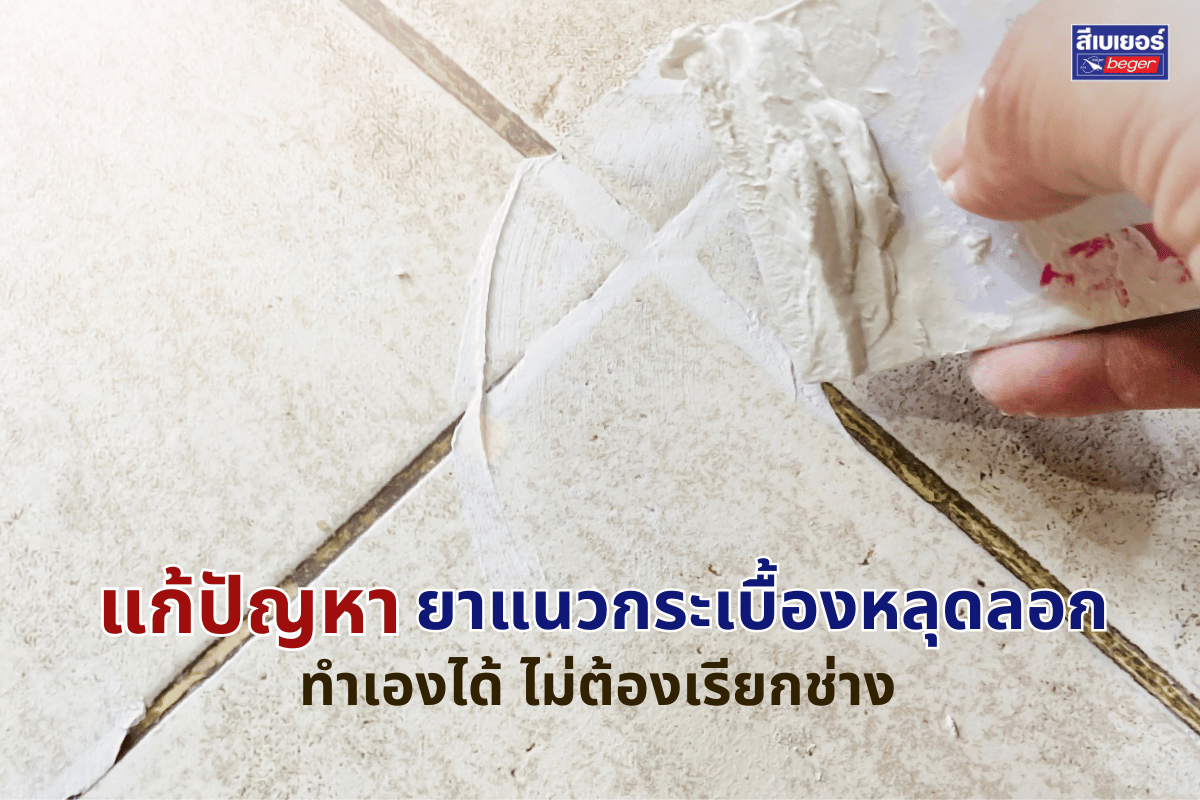
Black grout that has come loose in the joints or has deep-seated mold issues not only makes the bathroom look dilapidated but also allows water to seep directly into the structure beneath the tiles. If left unattended for too long, the repair costs that follow can be much higher than expected. Many people think they need to remove all the tiles, but in reality, if the tiles themselves are still in good condition, you can repair the grout yourself in half a day without calling a professional, without removing anything, and without spending much money. This article compiles everything you need to know about tile grout, from the causes of grout deterioration, the types of grout that should be chosen for specific jobs, to step-by-step DIY repair instructions, along with techniques used by professional craftsmen to ensure long-lasting results that won’t develop mold again.
What is tile grout and what does it do in the home?
Grout or grout adhesive is a construction material used to fill the gaps between tiles, both on floors and walls, to block openings that could become entry points for water, moisture, and dirt. Although it may seem like just a thin line around the tiles, grout serves several important functions simultaneously, including preventing water from seeping into the adhesive layer below, accommodating the expansion and contraction of tiles due to temperature changes, and helping to secure the tiles firmly in place without wobbling.
Why is grout more important than you think?
If there is no grout, or if the grout deteriorates without prompt repair, the following problems may arise:
- Water seeps into the adhesive layer beneath the tiles, causing the adhesive to deteriorate and the tiles to warp and come loose.
- Chronic moisture accumulation becomes a breeding ground for mold and bacteria that can affect health.
- Deep-seated black mold stains in the joints become increasingly difficult to clean, eventually requiring complete grout replacement.
- The underlying structure of walls or floors becomes corroded, making repairs difficult and costing much more than simply repairing the grout.
What causes tile grout problems?
Before starting repairs, it’s important to understand the causes first, because if the root issue isn’t addressed, the new grout will deteriorate just as quickly.
4 main causes of grout deterioration
1. Moisture accumulation
Moisture is the number one enemy of grout, especially in areas that are exposed to water daily, such as bathrooms or kitchens. When water repeatedly seeps into the grout joints, the structure of the grout weakens and gradually crumbles away.
2. Accumulation of mold and dirt
A damp and musty environment is ideal for mold. Grout that isn’t cleaned regularly will gradually turn black from deep-seated mold stains that cannot be completely removed by ordinary scrubbing.
3. Age and wear
Standard grout has a lifespan of about 2–5 years, depending on quality and usage conditions. Areas with heavy foot traffic or frequent exposure to water, such as bathroom and kitchen floors, will deteriorate faster than normal.
4. Low-quality grout or incorrect type selection
Grout that is not suitable for the area of use, such as regular grout that is not waterproof being used in a bathroom, will deteriorate very quickly and become a recurring problem that is difficult to resolve.
Signs that it’s time to repair the grout
Don’t wait for the problem to escalate. If you notice these signs early on, you should repair it before incurring higher costs.
- The grout has turned black or brown, and stains do not come out even after cleaning.
- Grout has come out in pieces or there are visible gaps in the tile joints.
- The grout is cracked in lines, especially around the edges of the tiles.
- Tiles are shifting or moving, which may mean that water has seeped into the adhesive layer.
- There is a musty smell in the area that does not go away even after cleaning.
What type of tile grout should you choose for your project?
Grout is not one-size-fits-all. Choosing the wrong type is one of the main reasons grout deteriorates faster than it should. Understand each type first, then choose the one that matches the area of use.
|
Types of Grout |
Key Features |
Suitable Areas |
Precautions |
|
Standard Grout |
Narrow joints ≤ 3 mm, fine texture |
General wall tiles in dry areas |
Not mold-resistant, not suitable for bathrooms |
| Sandy Grout |
Wide joints 3–15 mm, strong |
General floor tiles |
Rougher surface, harder to clean |
| Mold-Resistant Grout |
Contains mold inhibitors, moisture-resistant |
Bathrooms, kitchens, balconies |
More expensive than standard types |
| Epoxy Grout |
Very strong, chemical-resistant, acid-resistant |
Bathroom Commercial Kitchen Factory |
High price, harder to apply, must be done quickly |
| Ready-to-use sealant in a tube |
Can be used immediately, no mixing required |
Spot repair, DIY work |
Small quantity, not suitable for large jobs |
Choose sealant for bathrooms and kitchens: Only choose “mold-resistant and waterproof sealant” because these two areas have high humidity all the time. Regular sealant will turn black and peel within the first year.
Tools needed for tile sealant repair
Repairing tile sealant by yourself does not require complicated tools. Most tools can be found at general hardware stores.
- Sealant scraper or groove scraping tool For scraping off old sealant. If unavailable, a utility knife or metal nail can be used instead, but care must be taken not to scratch the edges of the tiles.
- Stiff brush For dusting off and removing leftover grout in the grooves. An old toothbrush or a small stiff brush should be used to reach narrow grooves effectively.
- Clean and dry cloth For drying the surface before applying sealant. This step is very important; the surface must be completely dry before application.
- Tile sealant The main material for repairs. Choose according to the area of use (see the type table above).
- Rubber trowel or sealant trowel For spreading sealant into the grooves. A rubber trowel is more flexible than a metal trowel and will not damage the tile surface.
- Sponge and clean water For wiping off excess sealant after spreading. Use a damp sponge to gently wipe.
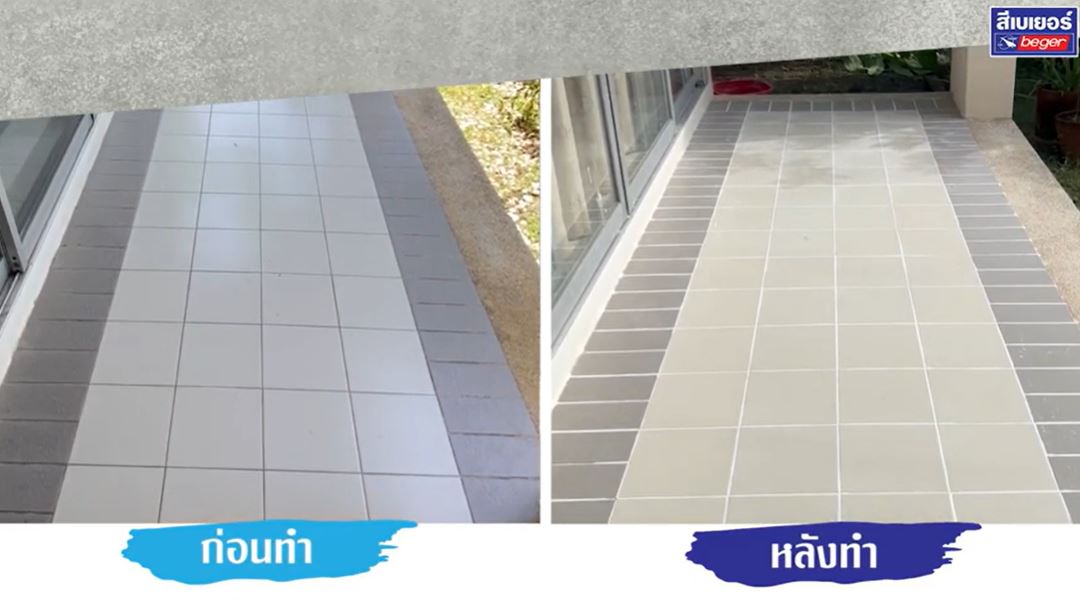
How to repair tile sealant by yourself, step by step
Follow these steps thoroughly, and you will have new sealant that lasts long, does not peel, and does not mold for many years.
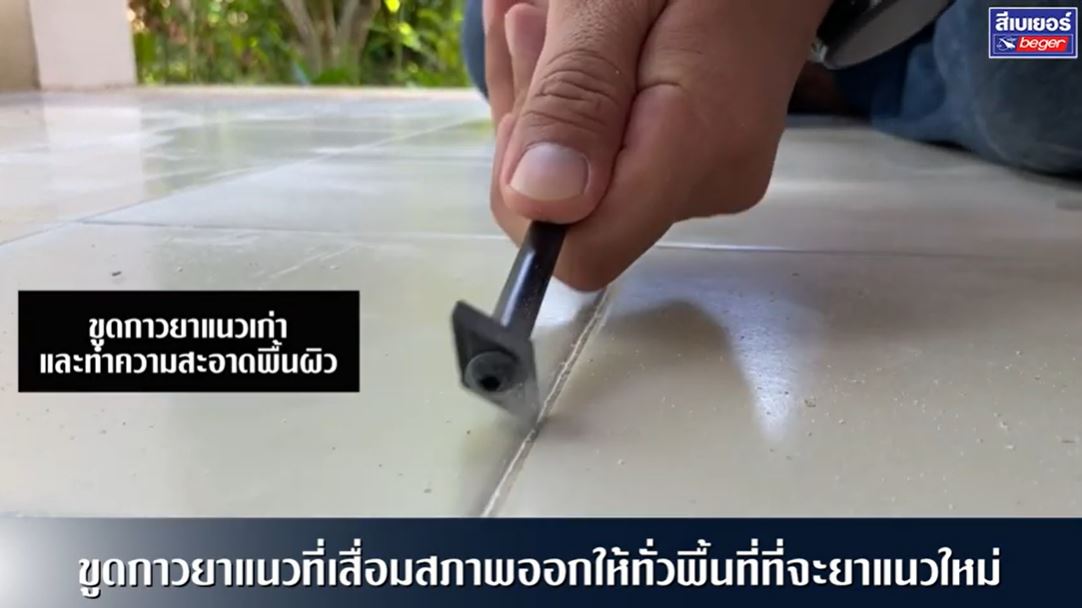
1. Scrape off old sealant and clean the surface.
Use a grout scraper or an old deteriorated grout removal tool to completely remove the old grout. If you don’t have a specific tool, you can use a cutter or a sharp metal object instead. Then, sweep away dust and debris, and wipe the joints dry.
For new tile installation: You should wait for the adhesive to dry completely for at least 24–48 hours before applying grout.
Key points that people often overlook: Make sure to completely remove the old grout. Do not apply new grout over it, as any remaining layer of old grout will prevent the new grout from adhering properly and will come loose faster than usual.
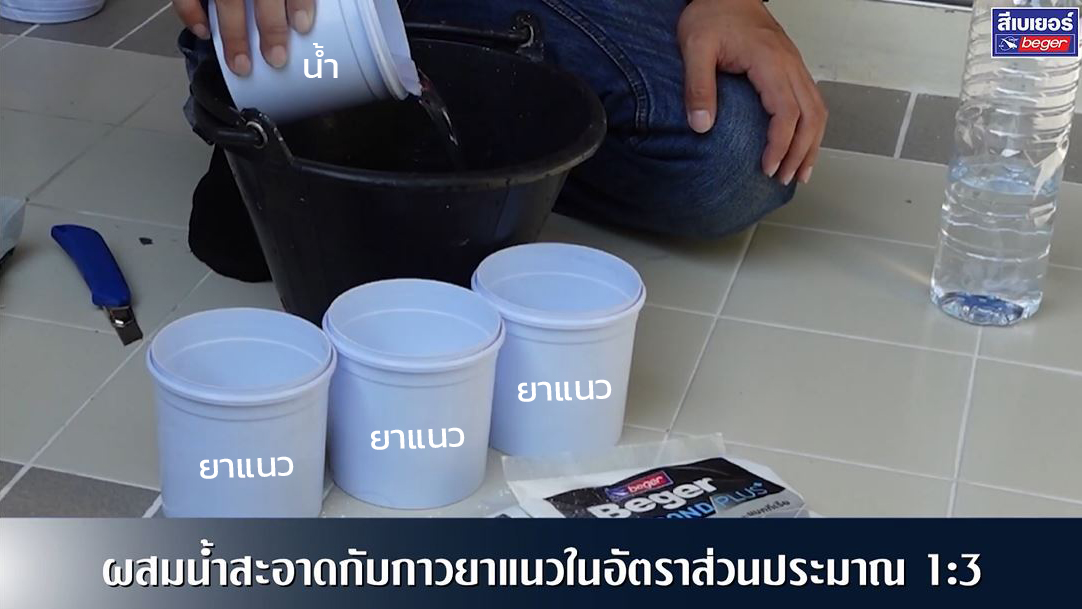
2. Mix grout and clean water in a ratio of 3:1.
Mix tile grout with clean water in the ratio of 3 parts grout (1 kilogram) to 1 part water (0.35 liters) for Beger Tile-Bond Plus You can use this ratio directly.
Mixing tips: Slowly pour water into the grout, do not pour grout into water. This will create a smoother mixture, and you should mix only the amount that can be used within 30–60 minutes. Do not mix too much at once.
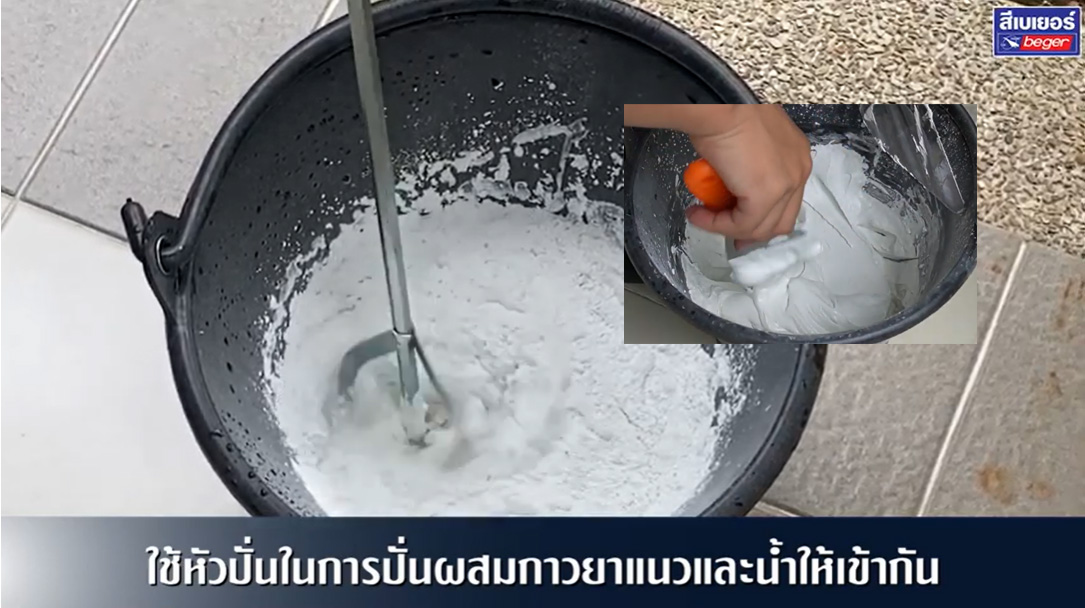
3. Stir the mixture until it is smooth and uniform.
Stir the mixture until it is uniform using a mixing paddle, trowel, or low-speed drill mixer. Then let the grout rest for about 3-5 minutes to allow the chemicals to react with the water.
4. Apply grout into the tile joints.
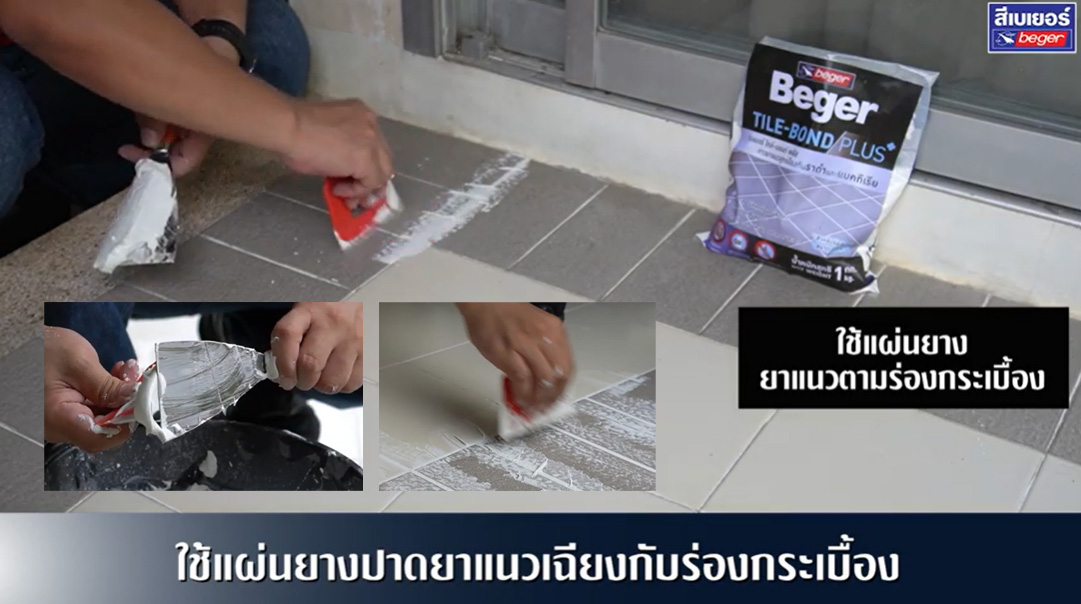
Scoop the grout onto a spatula, then use a rubber trowel to apply it into the tile joints using the technique of sweeping at a 60-degree angle to the joint line to ensure the grout fills the joint completely without pulling back out. Repeat until all joints in the desired area are filled.
Mixing tips: Alternate the direction of the trowel (if you’re sweeping horizontally, then sweep vertically, and vice versa) to help ensure the grout fills the joints evenly and without air bubbles.
5. Allow the grout to set until completely dry before cleaning.
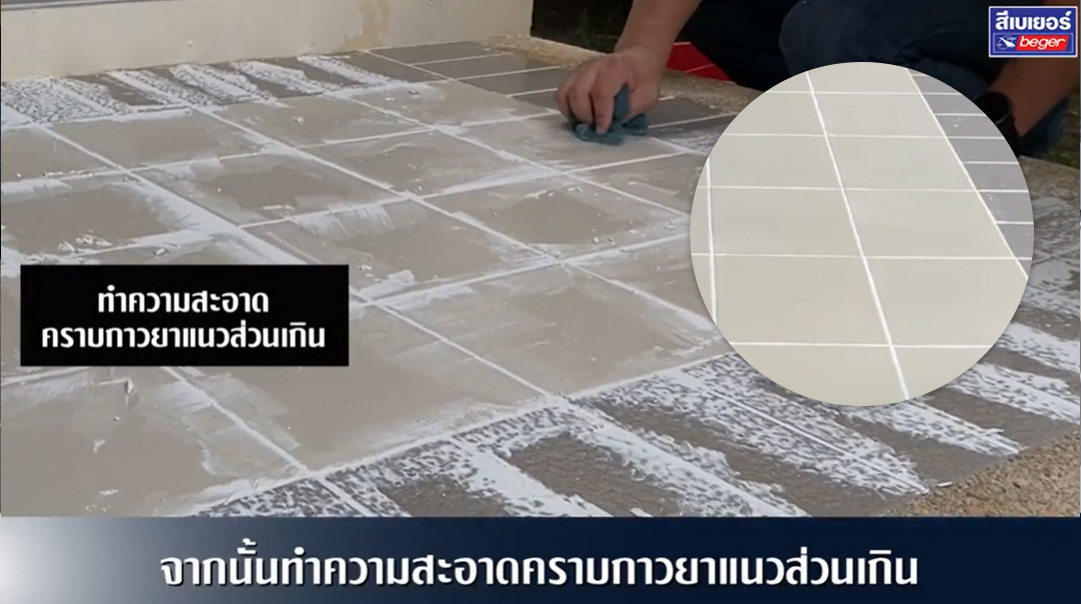
After applying the grout, wait about 2–4 hours for it to start setting. Then, gently wipe off any excess grout that has smeared outside the joints using a damp sponge, and follow up with a dry cloth.
For the best adhesion, you should wait for the grout to dry completely for at least 24 hours before using the area.
How many square meters can one bag of grout cover?
For Grout for tiles 1 bag, size 1 kilogram can cover an area of 5-6 square meters which the size of the area will depend on the size of the tiles used and the width of the grout joints. The larger the tile and the wider the joint, the more grout will be needed. This can be seen from the table below.

Example of calculating the amount of grout needed
If you want to use grout for standard bathroom floor tiles 2.4 x 1.5 m, which totals an area of 3.6 square meters with tiles sized 30×30 cm. and leaving a grout joint of 3 mm. From the table, it can be seen that a total of 0.10 kg per square meter
will be used. Therefore, for an area of 3.6 square meters, a total of 3.6 x 0.10 kg = 0.36 kilograms will be needed, orusing 1 bag will be sufficientindeed.
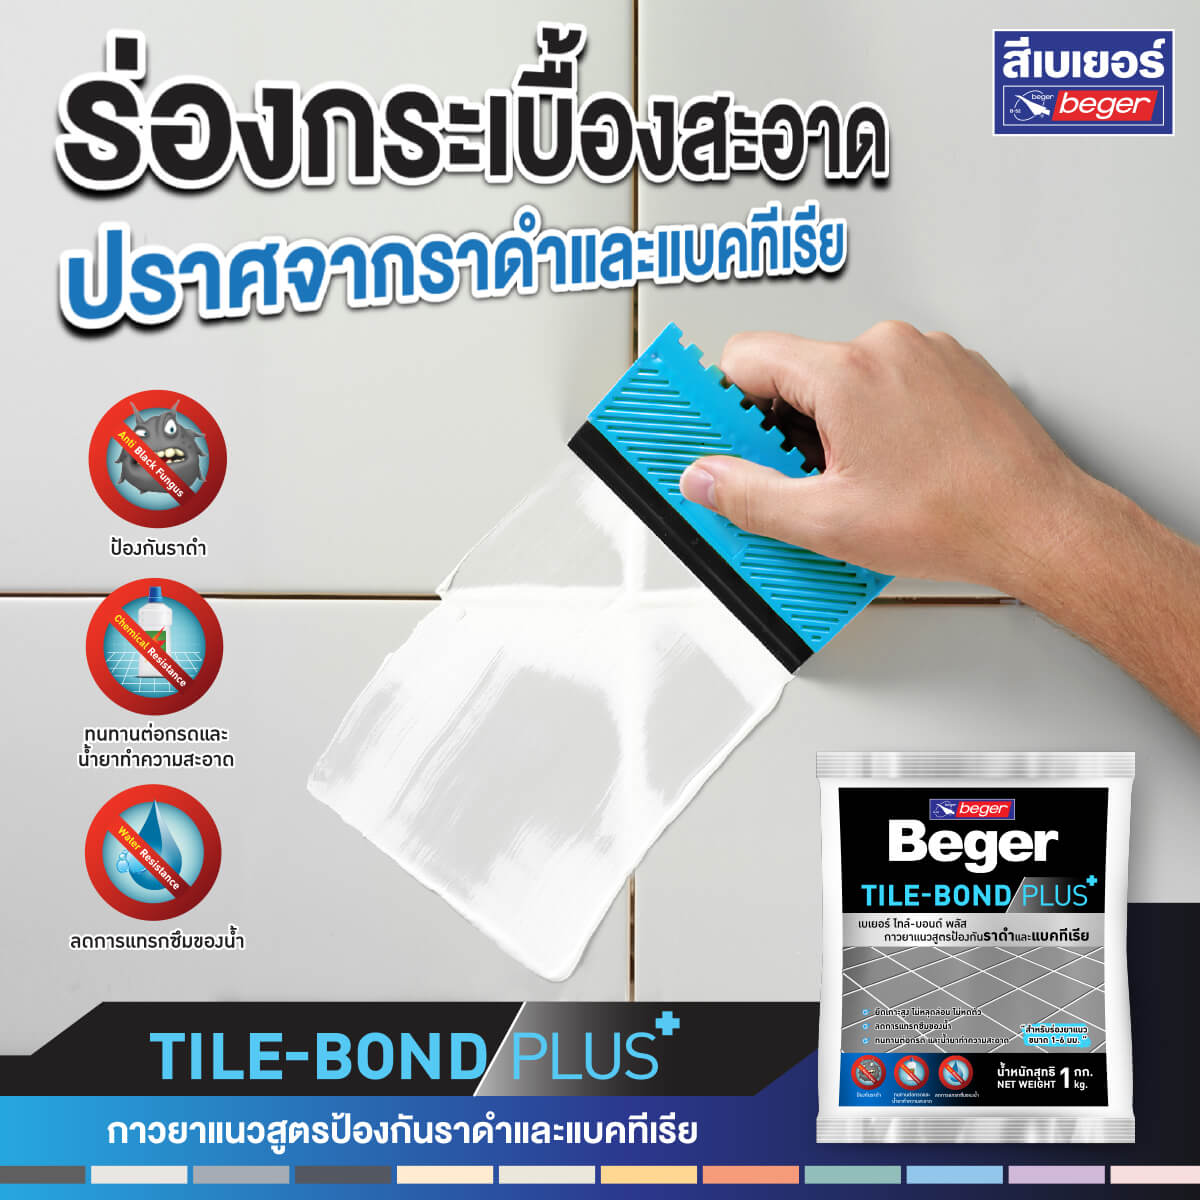
Beger Tile-Bond Plus Grout
is a grout that prevents black mold and bacteria, adheres firmly without collapsing, and is resistant to acids and bathroom cleaning agents from Beger.
Black grout that comes loose or crumbles is not always a reason to call a technician or to remove all the tiles if the tiles themselves are still in good condition. A new, high-quality grout combined with the correct application steps will result in a long-lasting outcome for many years.
FAQ: Frequently Asked Questions about Tile Grout
Q1: What causes black grout?
A1: Black grout is mostly caused by mold growing in a humid environment. Spores can embed deeply in the grout structure, not just on the surface, making them impossible to remove with regular cleaning agents. The effective solution is to scrape out the old grout and replace it with grout that contains mold inhibitors.
Q2: What should be done if the grout for the tiles has come loose?
A2: Completely remove the old caulk, do not apply over it. Clean the joints and let them dry. Then choose a caulk that has good adhesion and is mold-resistant. Apply the new caulk following the steps, and wait for it to dry completely for 24 hours before use.
Q3: Can I repair tile grout myself?
A3: Definitely, repairing grout is a DIY task that is very suitable for beginners. It takes about half a day for a standard-sized bathroom. The tools can be found at any general hardware store, and if you follow the steps carefully, the results will be no different from having a professional do it.
Q4: What type of grout should be chosen for the bathroom?
A4: For bathrooms, you need to choose grout that has all 3 properties: (1) mold-resistant, (2) waterproof, and (3) strong adhesion. Regular grout without mold-inhibiting agents will turn black and come loose within the first year in frequently used bathrooms.
Q5: How long does grout last?
A5 : General grout lasts about 2–5 years, but if you choose high-quality grout that is mold-resistant and clean it regularly, it may last up to 7–10 years. The key factors are the quality of the grout, the frequency of use, and maintenance.
Q6: Can the black eyeliner be removed, or does it need to be replaced?
A6: If the black stains have just started, you might try using bleach or a specific cleaning solution first. However, if the mold is deeply embedded in the grout, scrubbing will not be effective. The best method is to scrape out all the old grout and replace it with new grout.
Q7: After repairing the sealant, how should it be maintained to last long?
A7: Clean the grout lines regularly once a week with a non-corrosive cleaner. Avoid scrubbing hard with steel brushes. Wipe the water off the floor to dry after use, and ensure good ventilation in the bathroom to reduce moisture buildup.