
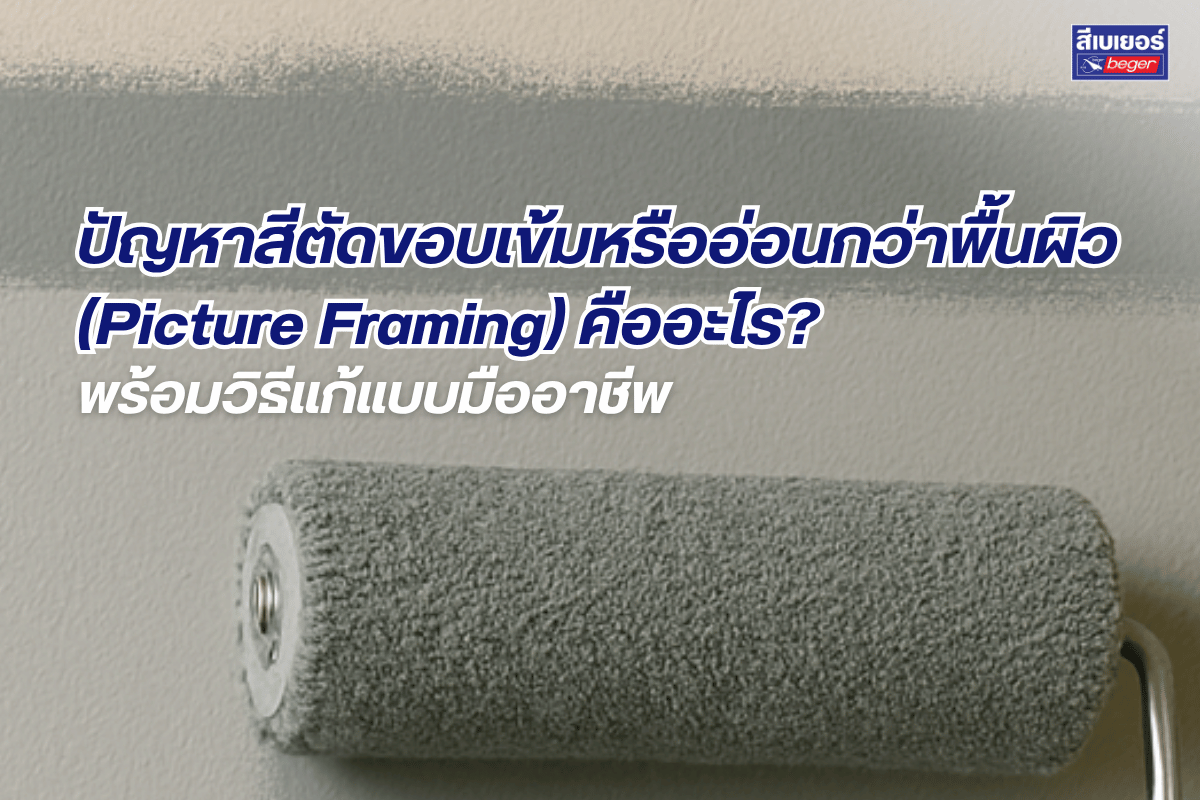
Picture Framing or “the issue of color appearing darker or lighter at the edges” is one of the common problems frequently encountered when painting walls, especially in interior decoration that requires a flawless finish. This issue causes the walls to appear uneven, as if framed, which clearly affects the overall beauty of the room. This article will help you understand the root causes of the problem, along with effective solutions and prevention methods based on the real experiences of professional painters and proven practices.
What Causes Picture Framing?
1. Inconsistent application technique
Picture Framing often occurs when painting involves using a brush for edges, corners, or hard-to-reach areas, while most of the wall is painted with a roller or spray gun, which has distinctly different paint application characteristics. This results in uneven thickness and spread of the paint film, leading to clear color edges once dry.
2. Uneven drying of the paint film
If the edges are brushed first and allowed to dry before rolling the middle section, it will cause uneven drying, resulting in differences in sheen level or color intensity, especially when light reflects off the wall. The wall surface will appear uneven, as if framed.
3. Narrow spaces or awkward corners
In hard-to-reach areas such as narrow corners, door edges, window frames, or behind cabinets, painters may choose to use a brush or a small spray head, which does not cover the surface as well as a roller. This results in uneven color coverage or “shade edges” at different levels.
4. Incorrect color mixing
If the paint is not mixed thoroughly, uses the wrong base color, or is poorly stirred, especially after being stored for a long time, it can lead to color discrepancies at different points, even if they come from the same can. This is one of the significant causes of Picture Framing that users often overlook.
Professional Methods to Prevent and Fix Picture Framing
1. Use the “Wet-on-Wet” technique
Cut the edges and roll immediately while the edge paint is still wet. This method allows the paint film on both the edges and the center to blend seamlessly, reducing shade differences.
2. Choose the right tools
Use a short-nap roller for smooth surfaces and a long-nap roller for rough surfaces. Avoid using a brush in areas where a roller can be used to ensure the paint film has consistent thickness and characteristics – click to see additional painting steps.
3. Adjust color mixing techniques
Before use, the paint should be stirred thoroughly, or if using paint that has been stored, it should be mixed with a standard paint mixer – click to see paint mixers.
4. Avoid painting in unsuitable weather conditions
Excessively high temperatures or strong winds can cause the paint to dry too quickly, affecting the continuity of the paint film. It is advisable to add a little water (5–10%) and work continuously to finish the wall in one go.
Special tips from the pros:
“Use painter’s tape to neatly tape the edges, then roll over the edges while the paint is wet to achieve sharp edges without frame marks.”
Summary:
Picture Framing is a seemingly minor issue, but if left unaddressed, it can significantly reduce the quality of painting work. Choosing the right equipment, using the correct painting techniques, and controlling the environment during the job are key factors in preventing this problem from occurring in the first place.